How to Pair a Promatic Wireless Receiver (Step-by-Step) | Shotgun Gear
Promatic Wireless Receiver Pairing (Step-by-Step Guide)
- New style “Promatic Sword Style” receivers (beep-based programming)
- Older “Pro/X hand receiver” systems (buzz-based programming)
What you’ll need (same tools shown in the video)
- A good, strong magnet
- A battery and power source (the video demonstrates powering receivers from an electrical box)
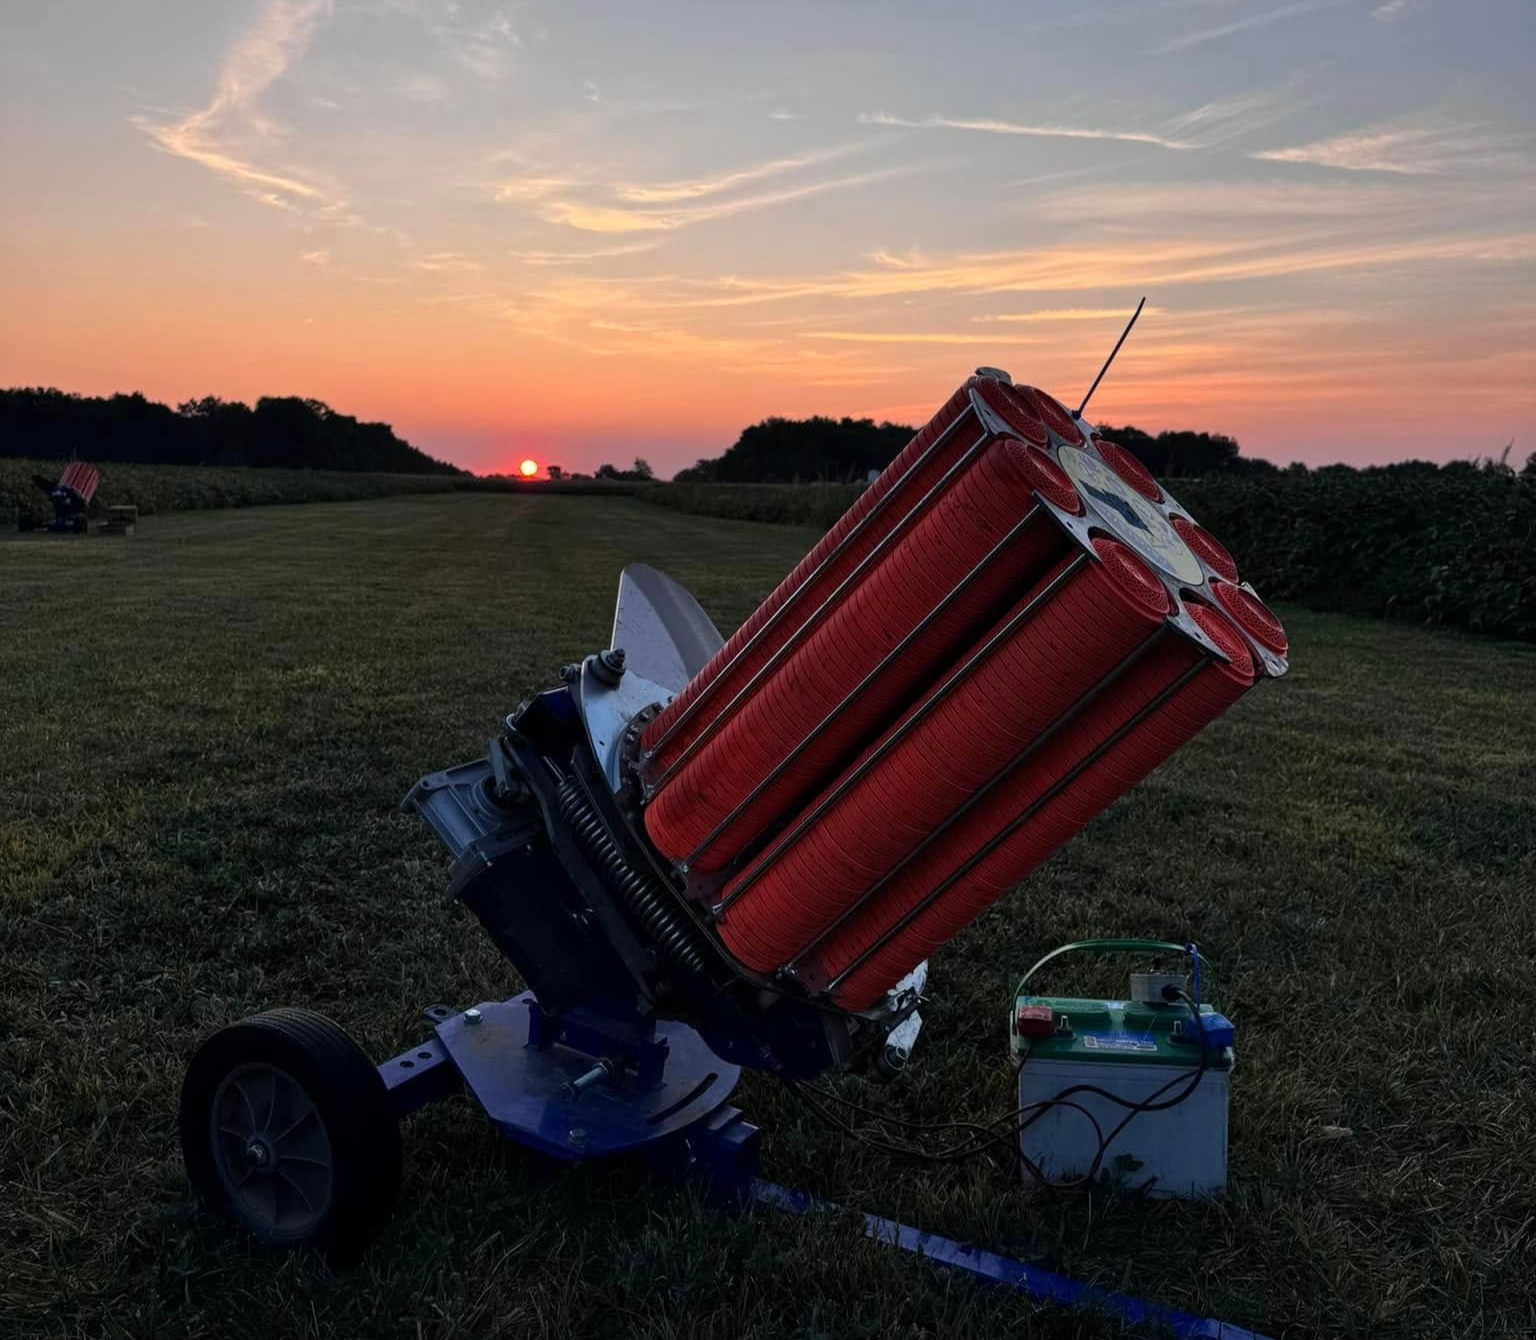
- A Promatic machine in a safe/disarmed state before working
Quick terminology (so the steps make sense)
- Receiver: The wireless unit that “learns” a handset button signal.
- Handset: The remote control used to fire the machine. The new style is a two-button A/B handset typically paired with sword-style receivers.
- Tick-tock mode: A repeating sound pattern after a reset that indicates the receiver has no memory and is ready to learn a new signal.
- Relay click: A confirmation sound you may hear when pressing the programmed button (especially with the machine off).
Part 1: Pairing the New “Promatic Sword Style” Receiver (Beep Method)
Step 1) Confirm you have the correct receiver
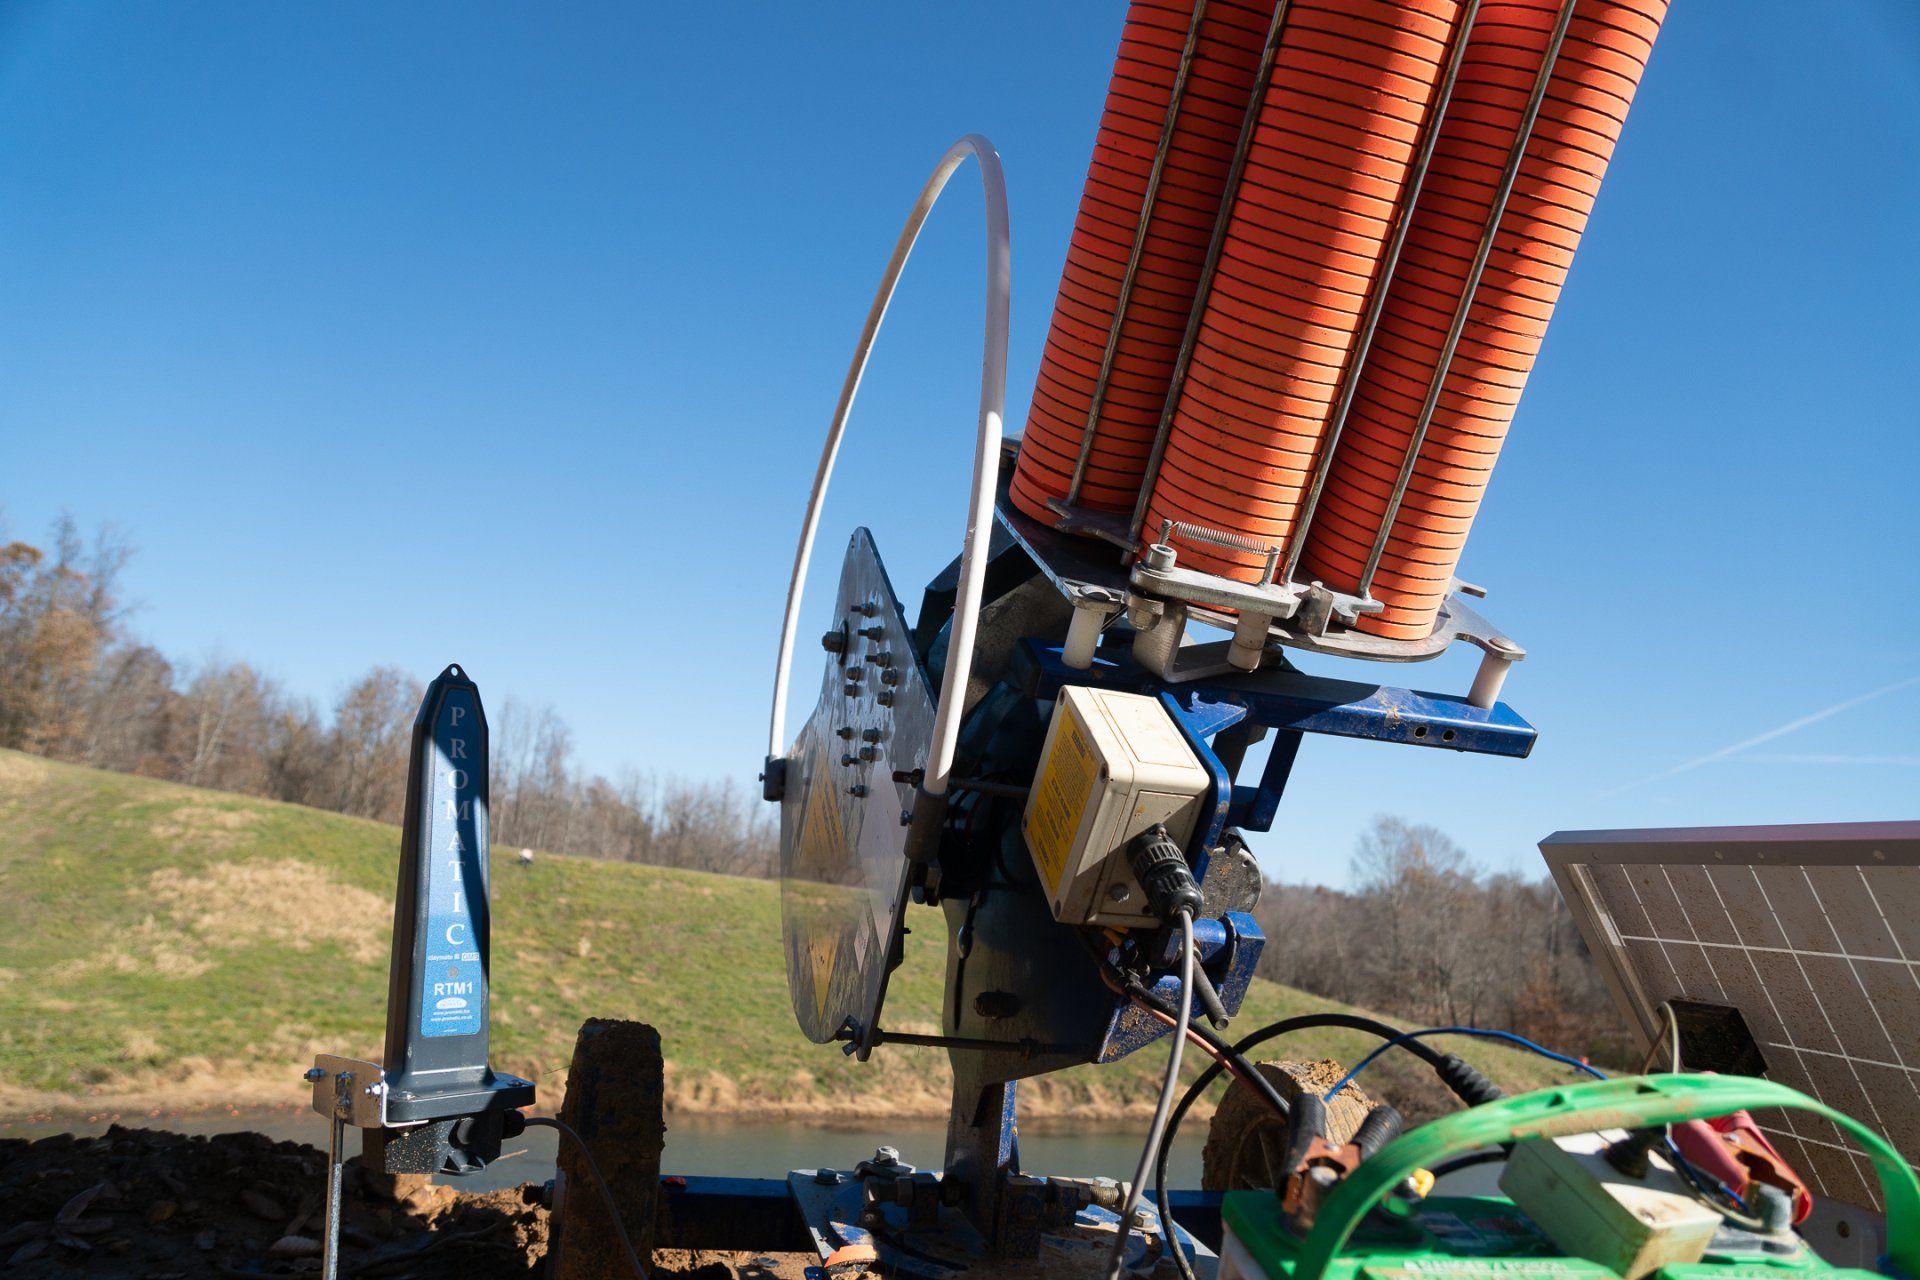
The video identifies this as the Promatic Sword Style receiver and notes it generally looks like this style (stake mount may vary).
Step 2) Find the correct programming symbol (important)
- On the sword-style receiver, look for two symbols:
- Top symbol: “carousel with a magnet logo.”
- Bottom symbol: “handset + receiver + magnet logo”
The guide/video instructs using the bottom symbol and ignoring the top symbol for this process.
Step 3) Power the receiver and listen for the power beep
When powered on, the receiver emits an audible cue to confirm that it has power and is ready.
Step 4) Reset the receiver into “tick-tock mode”
This clears the receiver’s stored pairing so it can learn your handset.
- Place the magnet on the bottom symbol (handset + receiver + magnet).
- Listen for one beep.
- About three seconds later, listen for two beeps.
Keep the magnet in place until the receiver enters tick-tock mode (constant repeating beeps).
When it’s constantly beeping, the receiver is reset, has no memory, and is ready to be programmed.
Step 5) Program the receiver to the button you want (A/B)
- After the reset, the video uses a repeatable “listen → pull magnet → press button” pattern:
- Put the magnet back on the same bottom symbol.
- Listen for one beep, then two beeps.
- When it beeps twice, pull the magnet off.
- Immediately press the handset button you want to assign (example shown: Bravo/B).
If done correctly, you’ll get an audible confirmation beep that indicates it programmed successfully.
Step 6) Confirm pairing worked (relay click test)
With the machine off, press the programmed handset button and listen for the relay click—this confirms the receiver is responding properly.
Compatibility note (from the video)
The video states that these receivers “work on any type of receiver that looks like this,” and that the two-button A/B handset is the typical match; older handsets can work in some cases, but “for the most part” the new receiver and new handset go together.
Part 2: Pairing the Older Pro/X Hand Receiver (Buzz Method)
The video then switches to the older system, described as “our pro or X handset” and a Pro/X hand receiver setup.
Step 1) Expect different audio cues (no beep / click on plug-in)
The video notes that with these older units, you may not get the same audible click/beep on the plug-in because they’re older style.
Step 2) Place the magnet correctly (top-left shoulder)
Facing the receiver directly, the magnet placement is specific:
- Place the magnet on the top-left shoulder.
Step 3) Reset into “tick-tock mode” (buzz pattern)
- With the magnet on the top-left shoulder, listen for one buzz (buzz instead of beep).
- Leave the magnet there.
- After about 15 seconds, it should enter tick-tock mode (buzz…buzz…buzz like a clock).
- Once it’s in tick-tock mode, the transcript indicates it’s “completely reset.”
Step 4) Program the receiver (magnet on → buzz → magnet off → press button)
The older receiver programming flow is:
- Put the magnet back on the top-left shoulder.
- It will buzz once.
- Pull the magnet off and press the handset button you want.
- You’ll get an audible buzz confirming it's programmed.
Step 5) Confirm pairing (relay click)
Just like the new style, you can often confirm by pressing the button again and listening for the relay click—“everything is good, ready to go.”
The video explains that the older handset style is blue with “bubbles,” and may be AB pairs, ABC, or five buttons, depending on what you’ve got. It also notes that some setups use an eight-button handset, and those can work with the older style receiver as well.
Troubleshooting tips (fast fixes that prevent rework)
If tick-tock mode never starts
- Confirm magnet strength (weak magnets cause inconsistent programming)
- Confirm you’re on the correct symbol (new style) or correct shoulder location (old style)
- Confirm the receiver is properly powered
If the receiver resets but won’t program
Follow the exact timing:
- New style: pull the magnet when it beeps twice, then press the button immediately
- Old style: magnet on → buzz once → magnet off → press button
If it programs but doesn’t fire the machine
- Use the relay click test to confirm if the receiver is responding. If the relay clicks but the machine won’t throw, the issue may be machine-side rather than receiver-side.
Shotgun Gear LLC is a full-service Promatic Diamond Dealer supporting trap sales, rentals, and service for Promatic machines, plus course/event support—backed by a rental fleet of 60+ machines for events of all sizes.
If you need help identifying your receiver type, matching the right handset, or troubleshooting a system that won’t reset or hold pairing, contact Shotgun Gear at shotgungear@gmail.com or call/text 859-420-8421
Q: What does “tick-tock mode” mean?
Q: What does “tick-tock mode” mean?
Title or Question
Describe the item or answer the question so that site visitors who are interested get more information. You can emphasize this text with bullets, italics or bold, and add links.Title or Question
Describe the item or answer the question so that site visitors who are interested get more information. You can emphasize this text with bullets, italics or bold, and add links.
You might also like